
T3 CODE · START HERE
T3 Code brings your coding agents into one place. Work from your desktop, the web, or your phone — with the tools and subscriptions you already use.
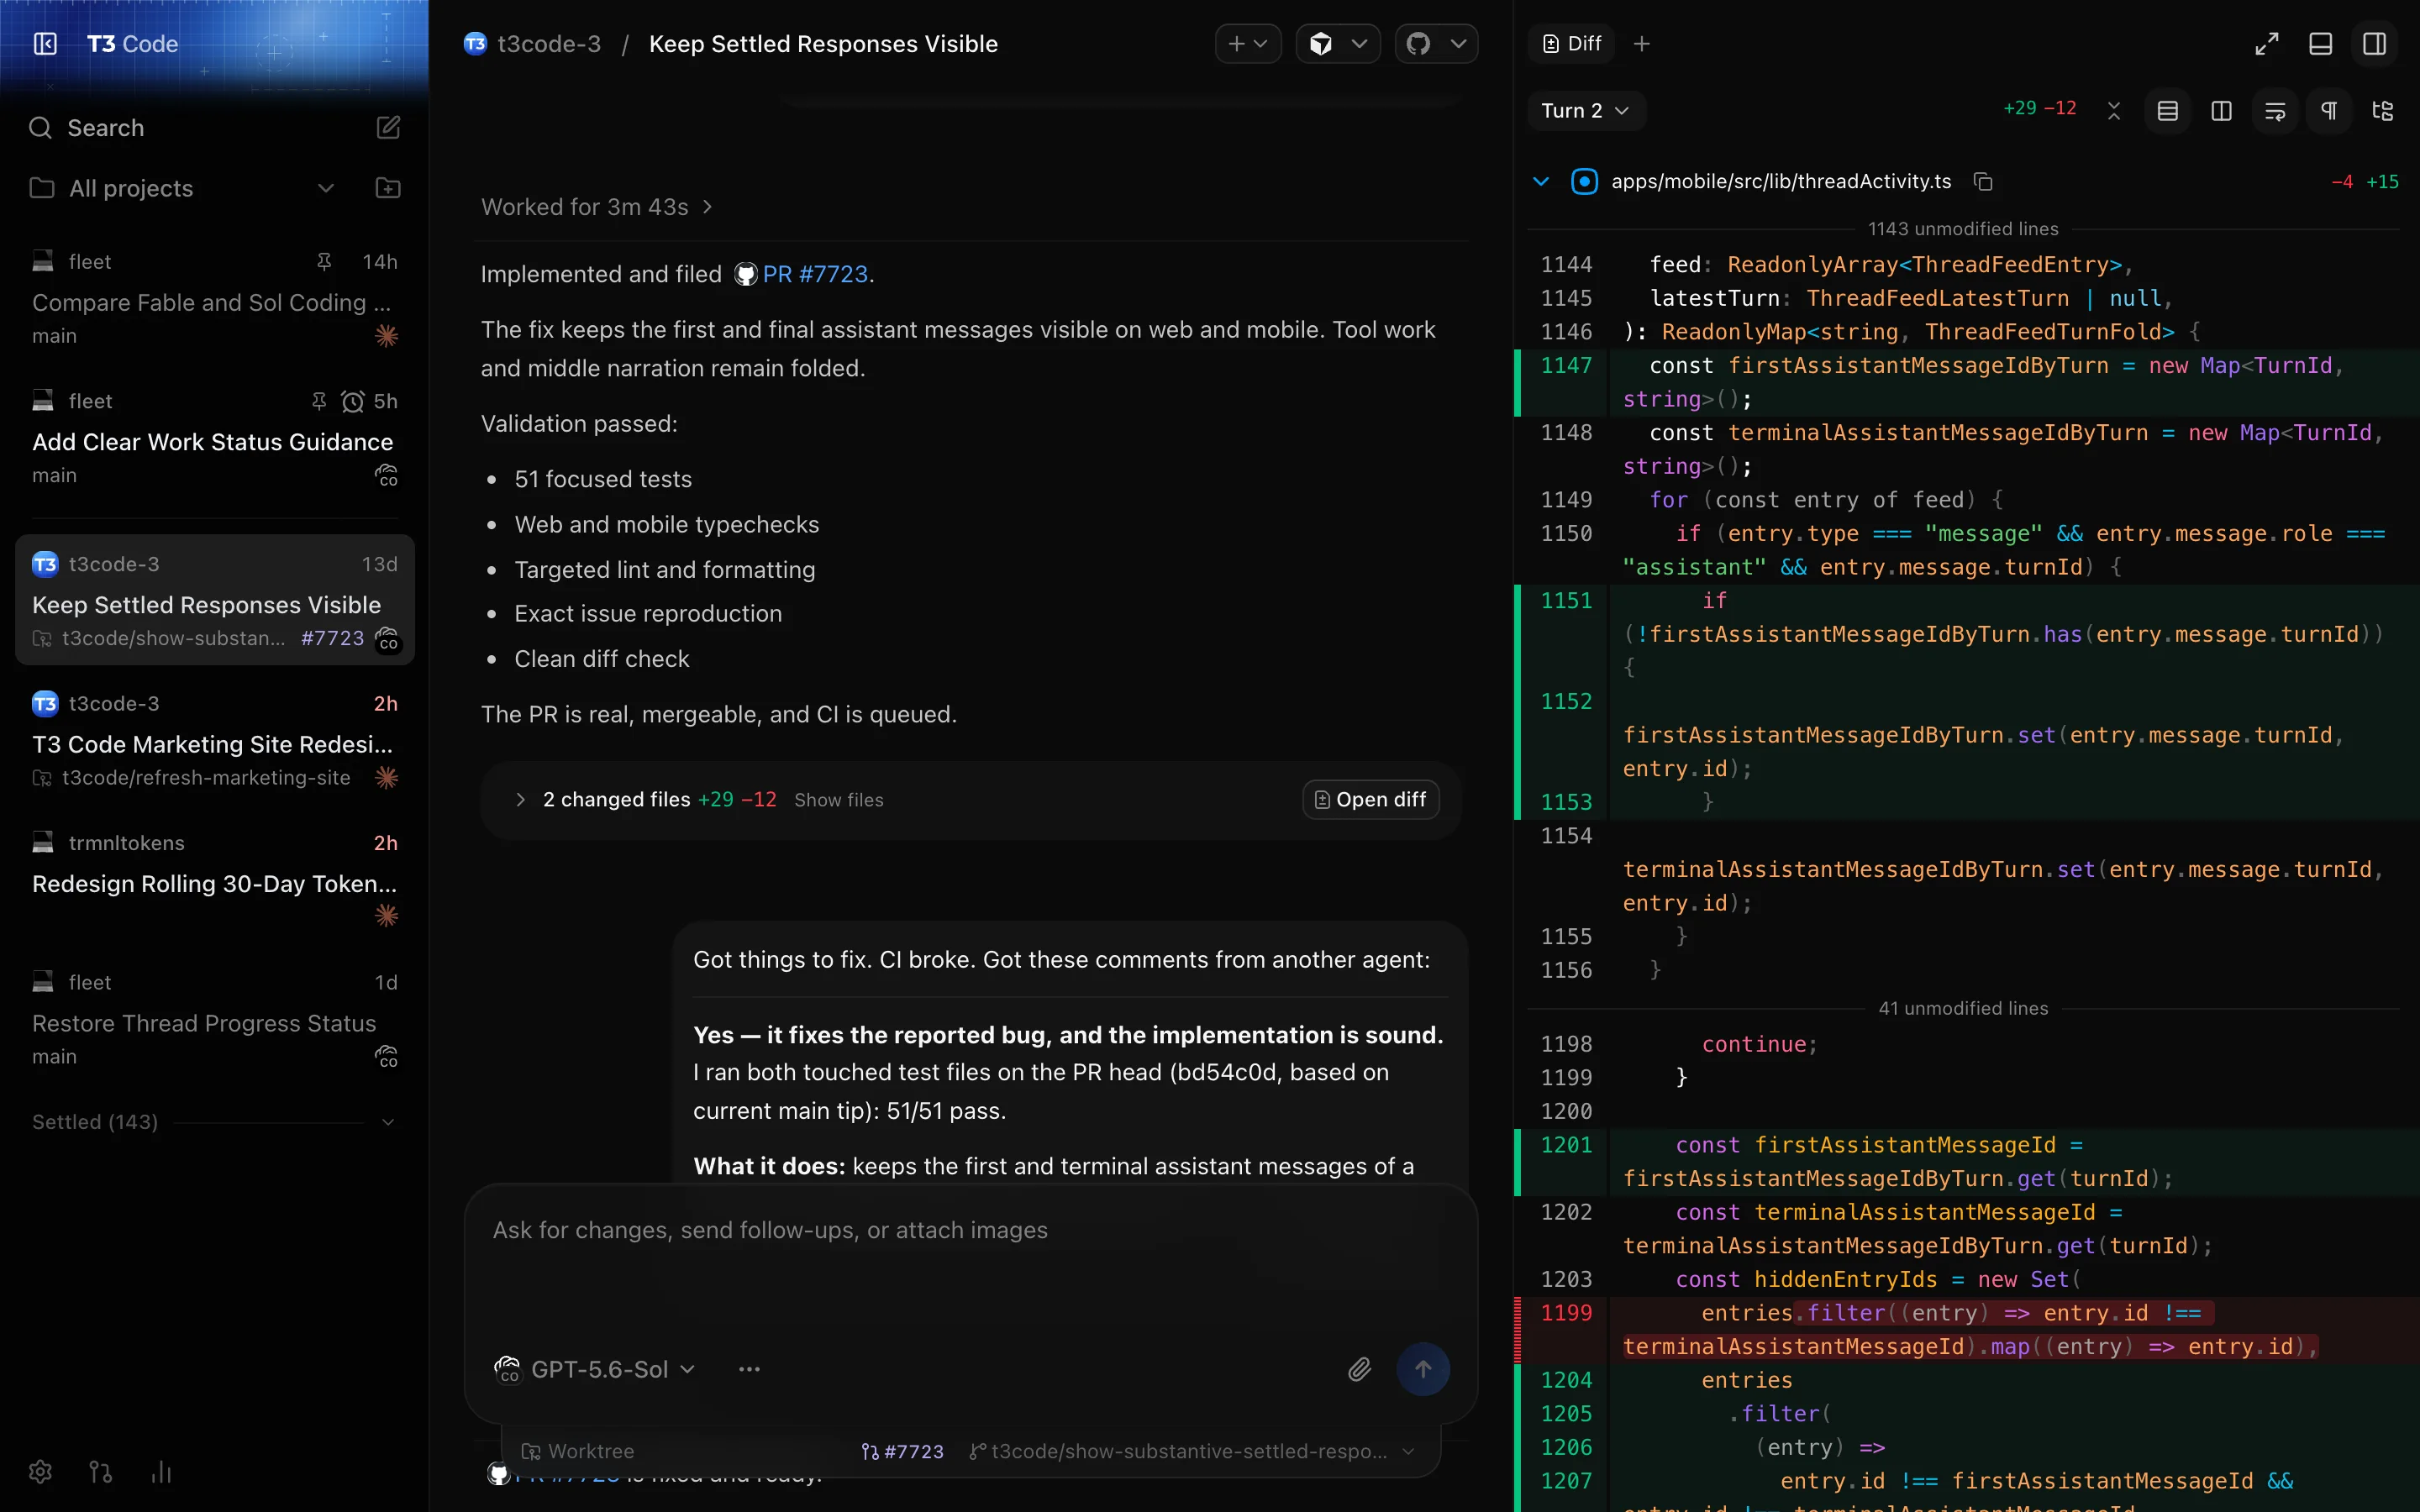
What T3 Code adds#
If you already use Codex or Claude Code, you already have the agent that writes code. T3 Code is the workspace around those agents: a place to manage tasks, review changes, and keep working from another device.
Your chosen provider still runs the model and uses its own account or subscription. T3 Code gives you a desktop, web, and mobile interface to that work.
What you can do with it#
Keep several tasks organized. Each task gets a thread with its conversation and work history. You can return to it, send a follow-up, or settle it when finished.
Work with different agents. Choose a provider and model for a task. You can use Codex for one thread and Claude for another.
Review what changed. Inspect an agent's activity and code diff, then use the Git and pull request tools to review and publish your work.
Leave work running elsewhere. Keep your projects and agents on an awake computer, connect from another device, and get phone notifications when work needs your attention.
Start with one project and one agent. The useful first loop is simple: give it a task → inspect the result → ask for the next change. Once that feels comfortable, connect your phone or try a second task in a separate worktree.
Install and connect an agent#
Start on the computer where you want the agent to work. It needs access to your project files and your provider account.
Install T3 Code. Download the desktop app from GitHub Releases, or follow the installation reference for your platform.
Connect your agent. Open Settings → Providers, select this computer, and enable Codex, Claude, or another provider. Follow the setup and sign-in action for that provider. You need an authenticated provider before you can send a task.
Open a project. The welcome wizard can import projects and recent conversations from Codex and Claude. Choose a directory you want to work in.
For Codex, you can connect with ChatGPT. For Claude, install and sign in to Claude Code on this computer, then enable it in T3 Code. See Claude setup if you need another account or configuration.
That's enough for your first task. You don't need to configure remote access, custom models, or automations yet.
Finish your first task#
Pick a small change you can recognize when it's done: fix a typo, explain a function, or add one missing state to a page.
Start a thread in your project. A thread is the conversation for this task. Choose your provider and model in the composer.
Choose how much approval you want to give. For a first run, Supervised lets you review command and file-change requests as they come up. Permission modes are separate from whether you ask the agent to plan.
Describe the outcome. Name the relevant file or behavior and explain how you'll judge success. Attach a file when it helps.
Review the result. Inspect the diff and any checks the agent ran. Give it a follow-up if something needs adjusting.
For example, try this in your own project:
Explain how this project is organized and how to run its checks.
Point out the files I should read first.
Don't change any files yet.
Then ask for one concrete improvement. The thread keeps the discussion together, so you can refine the work without starting over. When you're finished, settle it to clear your active list.
If an agent needs approval or asks a question, answer in the conversation. The permission guide and composer reference explain the controls in more detail.
Three things to try#
Run two independent tasks#
Start one thread for a bug fix and another for a small feature. Choose New worktree when they need separate code changes. A worktree gives a task its own Git branch and checkout, so independent edits can happen in separate directories.
Review each result before bringing the changes together. Two threads in the same checkout share files; separate worktrees are the useful choice for independent edits.
Give another agent the next task#
If you have more than one provider connected, pick a different provider for a new thread. You can compare how they approach work without moving your whole workflow into another app. Start with separate tasks; learn about switching providers within a conversation when you need it.
Start here, finish on your phone#
After setting up the remote workflow below, start a task from your computer and open the same environment on your phone. Inspect the thread, answer a question, or send a follow-up. The files and running agent stay on the host computer.
You can also open a project from your terminal while the desktop app is running on the same machine:
t3 app ./my-projectThis opens a thread for that directory and adds the project if needed.
Use an always-on computer#
This is a major reason to use T3 Code: the computer doing the work doesn't have to be the device you're holding. Leave your repositories and agents on a machine you can keep awake, and use your laptop or phone to control them.
T3 Code calls that running server and its machine an environment. The desktop, browser, and phone interfaces are clients of it. Your provider login, project files, and agent processes belong on the environment's machine.
Connect the host#
Install T3 Code on the host and authenticate your provider there. Make your project files available on that machine.
In the desktop app, open Settings → Connections, sign in, and enable T3 Connect for that environment. On a command-line host, run:
t3 connectKeep the server running. Command-line setup offers a background service. On supported Linux and macOS hosts, you can also install and start it yourself:
t3 service installOn your other device, sign in to the same T3 Connect account and choose that environment. Start a thread in a project on that host.
T3 Connect makes the host reachable without configuring router forwarding. Signing in alone isn't enough: the host must stay awake, online, and running T3 Code.
On macOS, the background service runs while you're logged in; keep the Mac logged in and awake. Linux uses systemd user services. Windows doesn't support this background-service command; keep the host app or server running instead.
Use remote access and background services for platform details or troubleshooting. Direct LAN, Tailscale, and SSH connections are also available, but T3 Connect is the path to phone push notifications.
Continue from your phone#
Install the mobile app from the App Store or Google Play. Sign in to the same T3 Connect account as your host and select its environment.
You can open its projects and threads, send work, and respond when an agent needs input. Your phone controls the workspace; the host still runs the agents and holds the files.
Turn on notifications#
In the mobile app, enable Device Notifications in Settings → Notifications and allow notifications in your phone's system settings. Your host environment must also have agent activity publishing enabled.
You'll receive alerts when an agent finishes, fails, needs approval, or asks for input. Tap an alert to open the thread. Optional Live Activity Updates on iOS or Ongoing Agent Activity on Android show progress without opening the app.
Push notifications require T3 Connect. Connecting directly over a LAN or Tailscale alone doesn't enable them. Your phone doesn't need to keep a live connection open for push delivery.
Try the full loop with a small task: start it on the host, leave the mobile app in the background, wait for an alert, then open the thread and respond. If it doesn't arrive, check mobile notifications for platform requirements and settings.
Where to go next#
You now have the basic workflow: a project, a connected agent, a thread for each task, and a place to review the result. Remote access adds a host you can reach from other devices and notifications when work needs attention.
Use the rest of the documentation when a specific need comes up:
Advanced workflows: separate worktrees, provider switching, project defaults, scheduled work, and integrations.
User reference: the full instructions for providers, settings, shortcuts, remote access, and troubleshooting. Look up a topic rather than reading it all in order.
For everyday use, the most useful next lookups are keyboard shortcuts, threads and worktrees, and reviewing changes.